The Floor(s)
So after forming the original room which is 6m x 3.5m, we did the 6 inches of concrete on the ground, underneath it we have put a layer of plastic to prevent moisture.
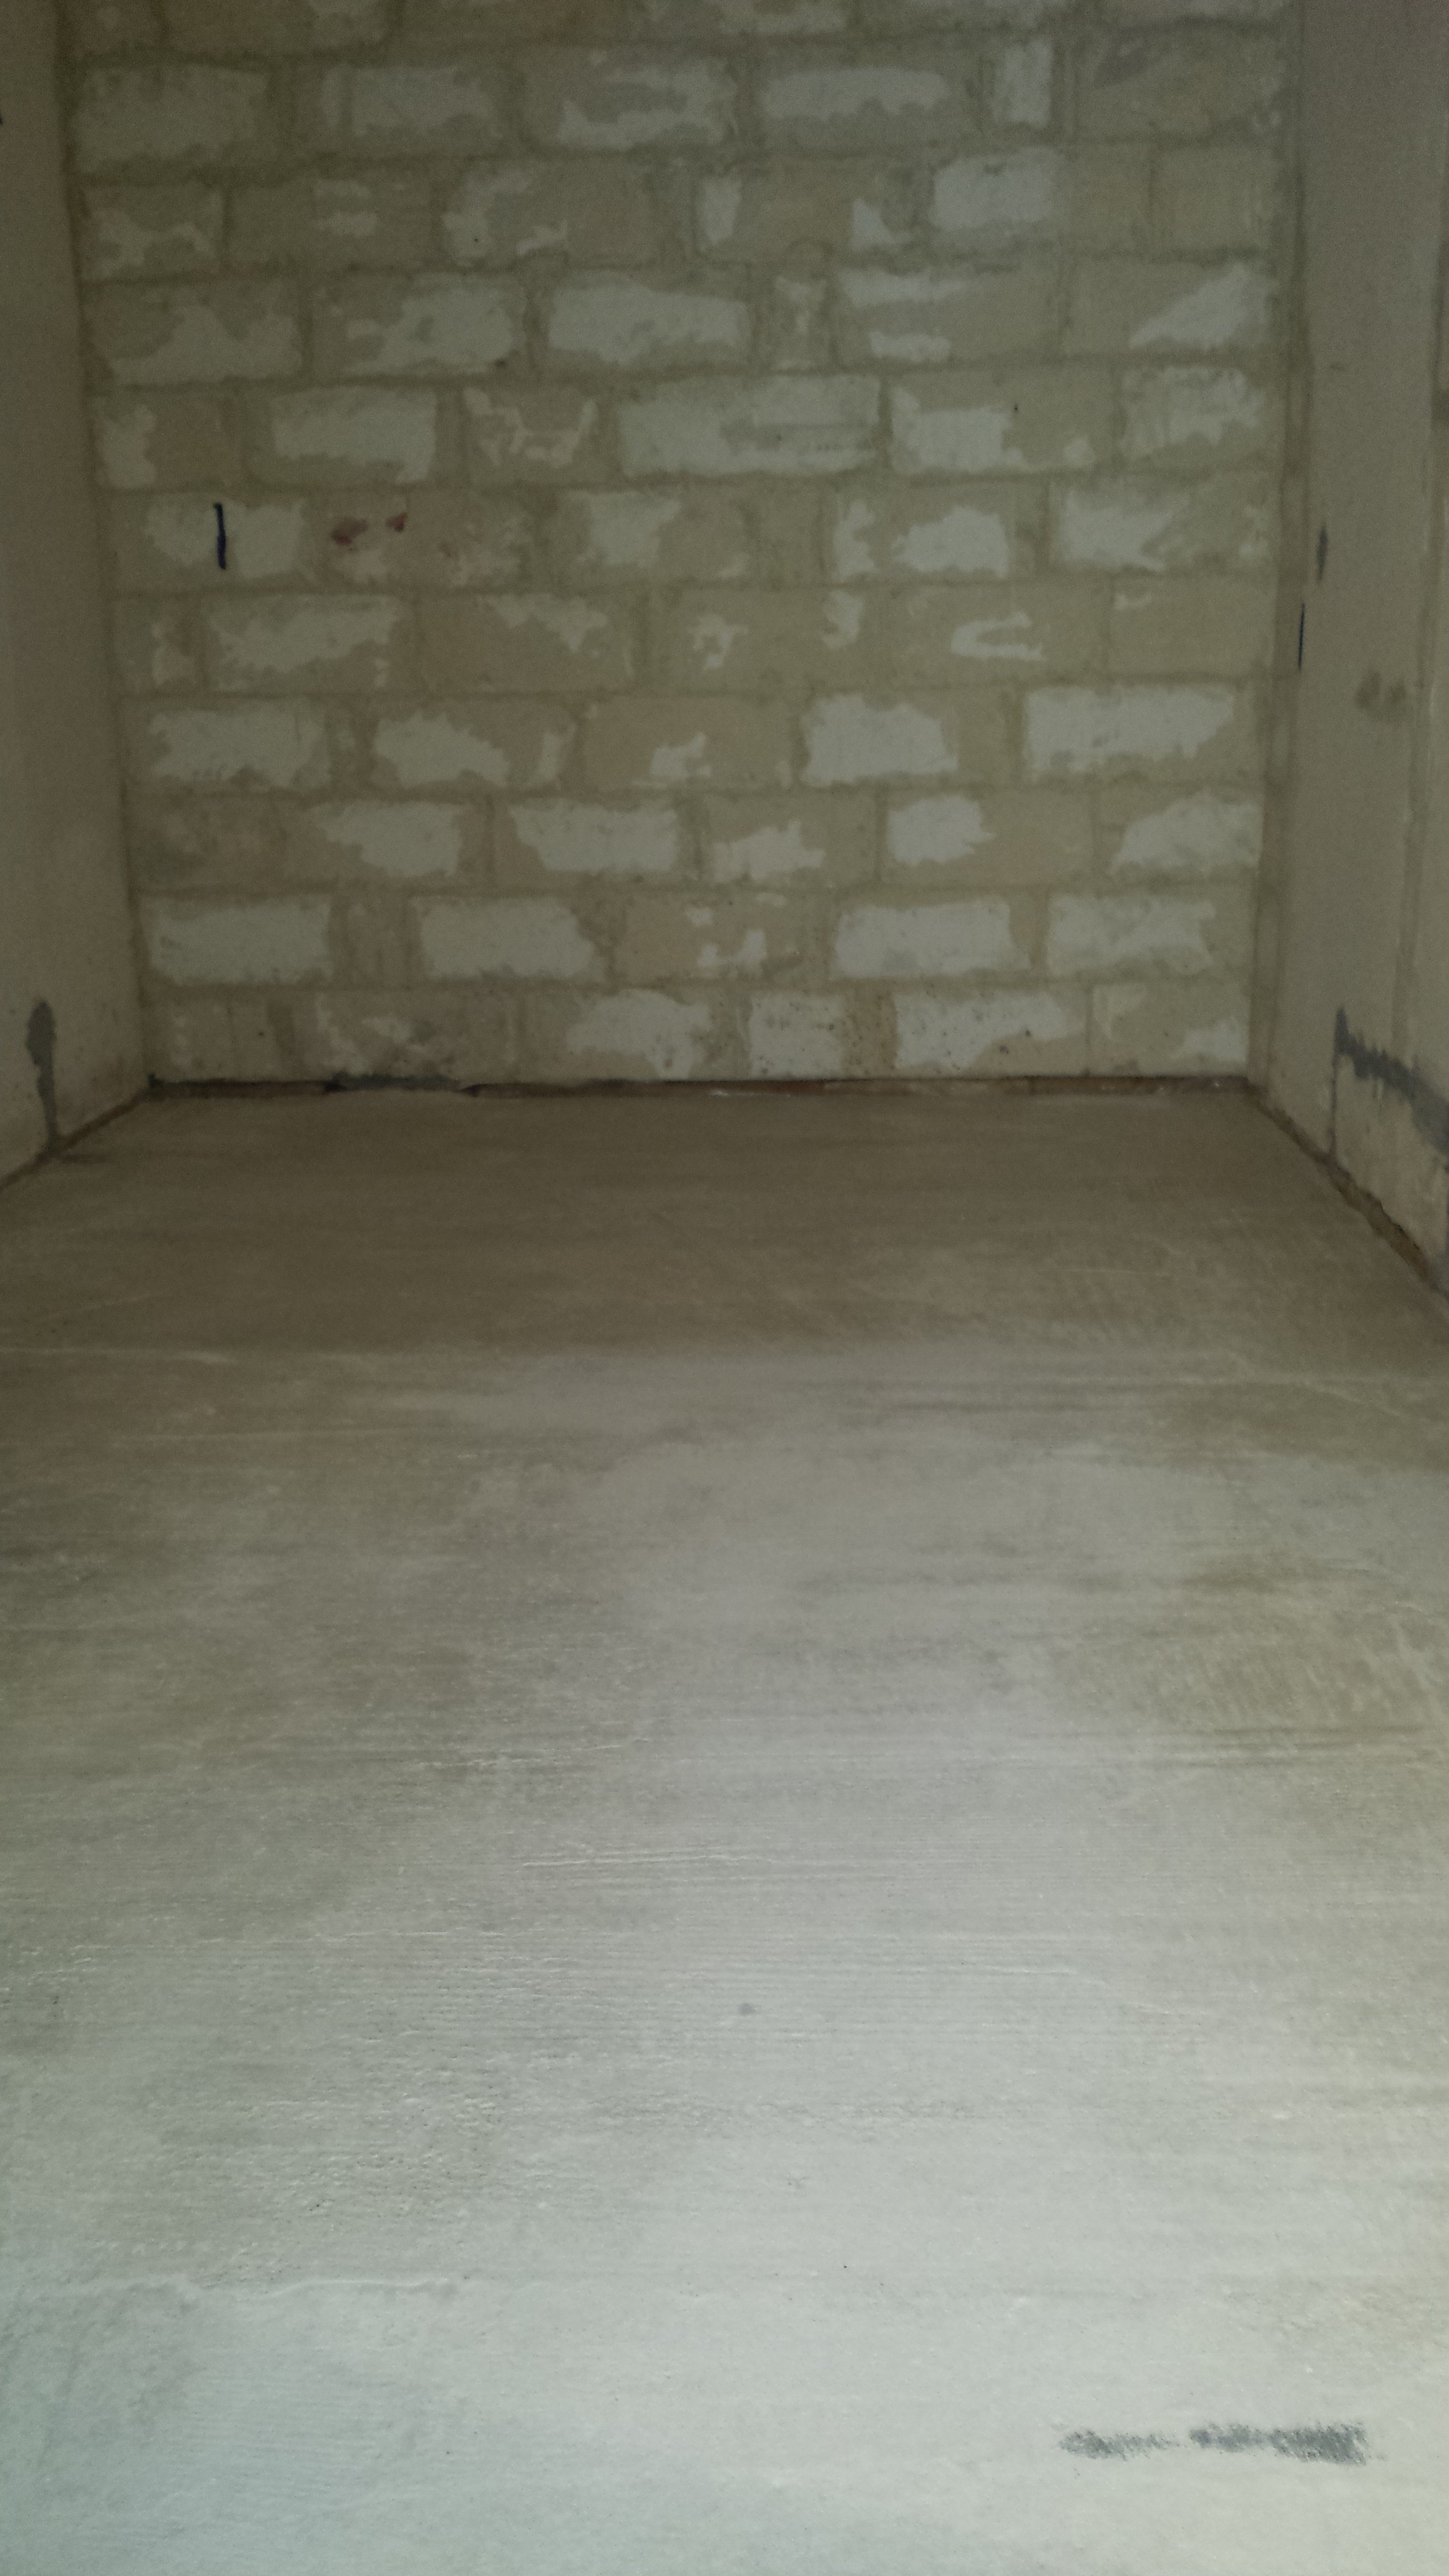
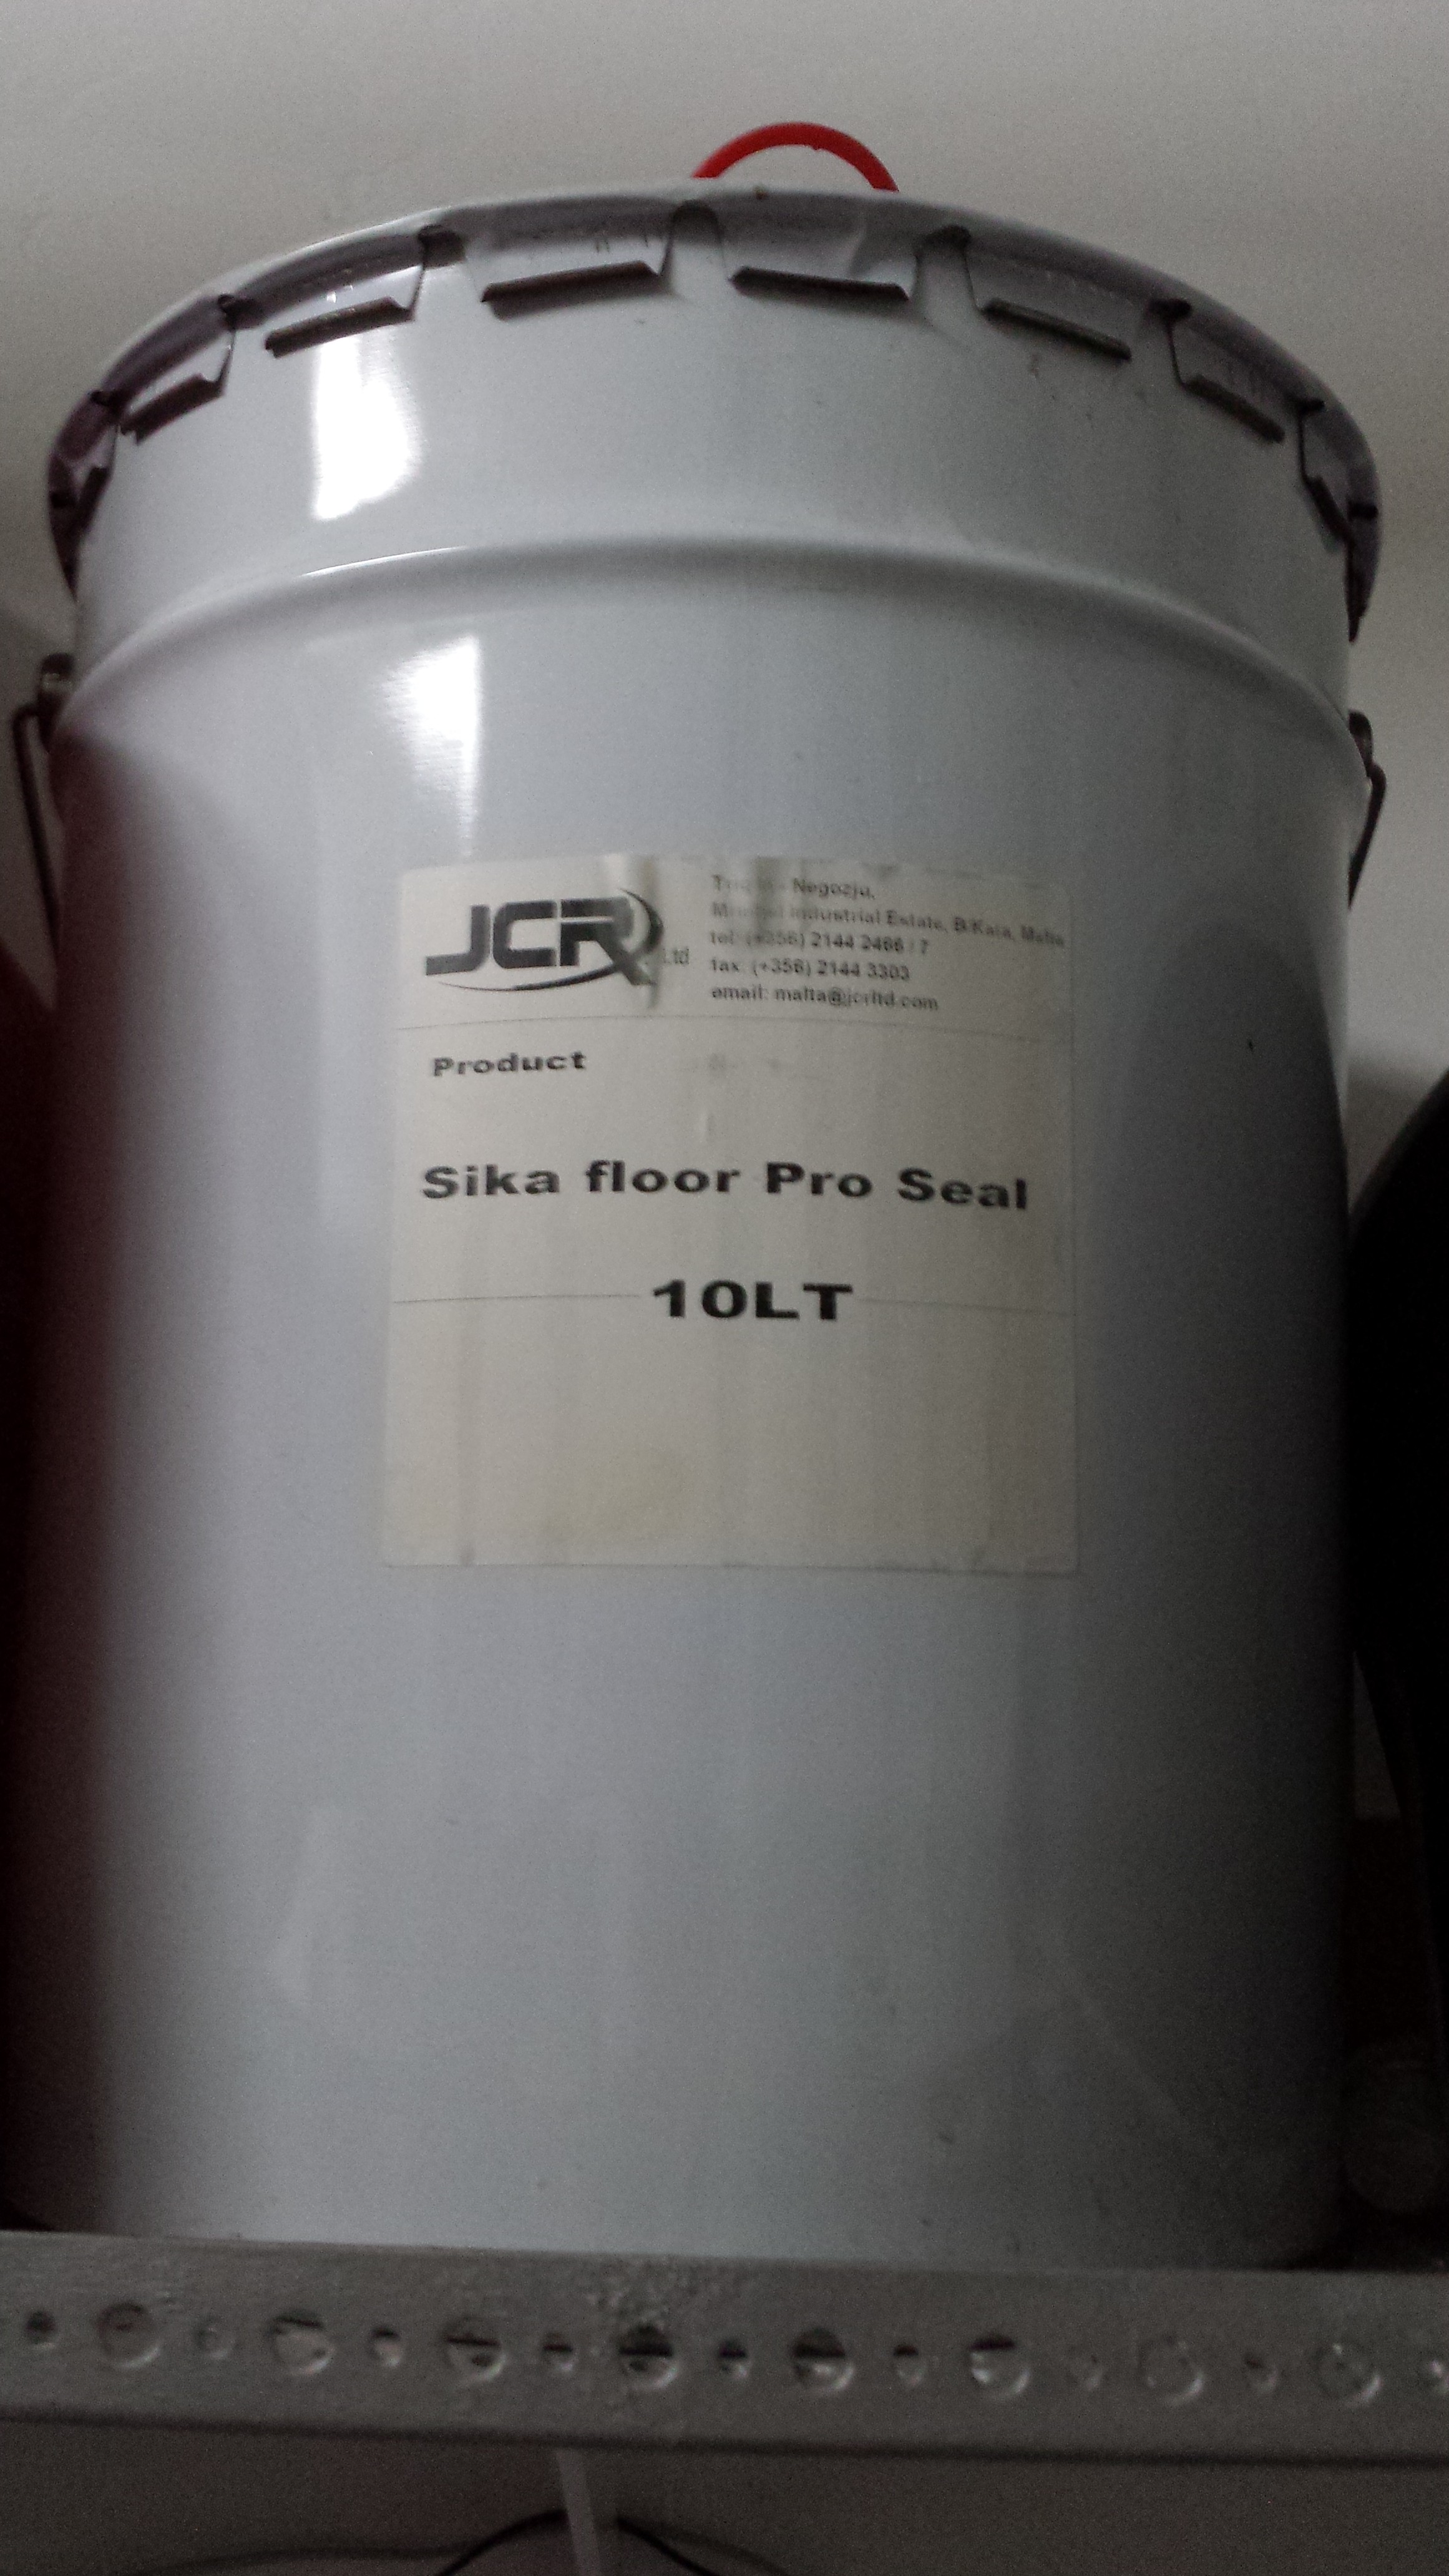
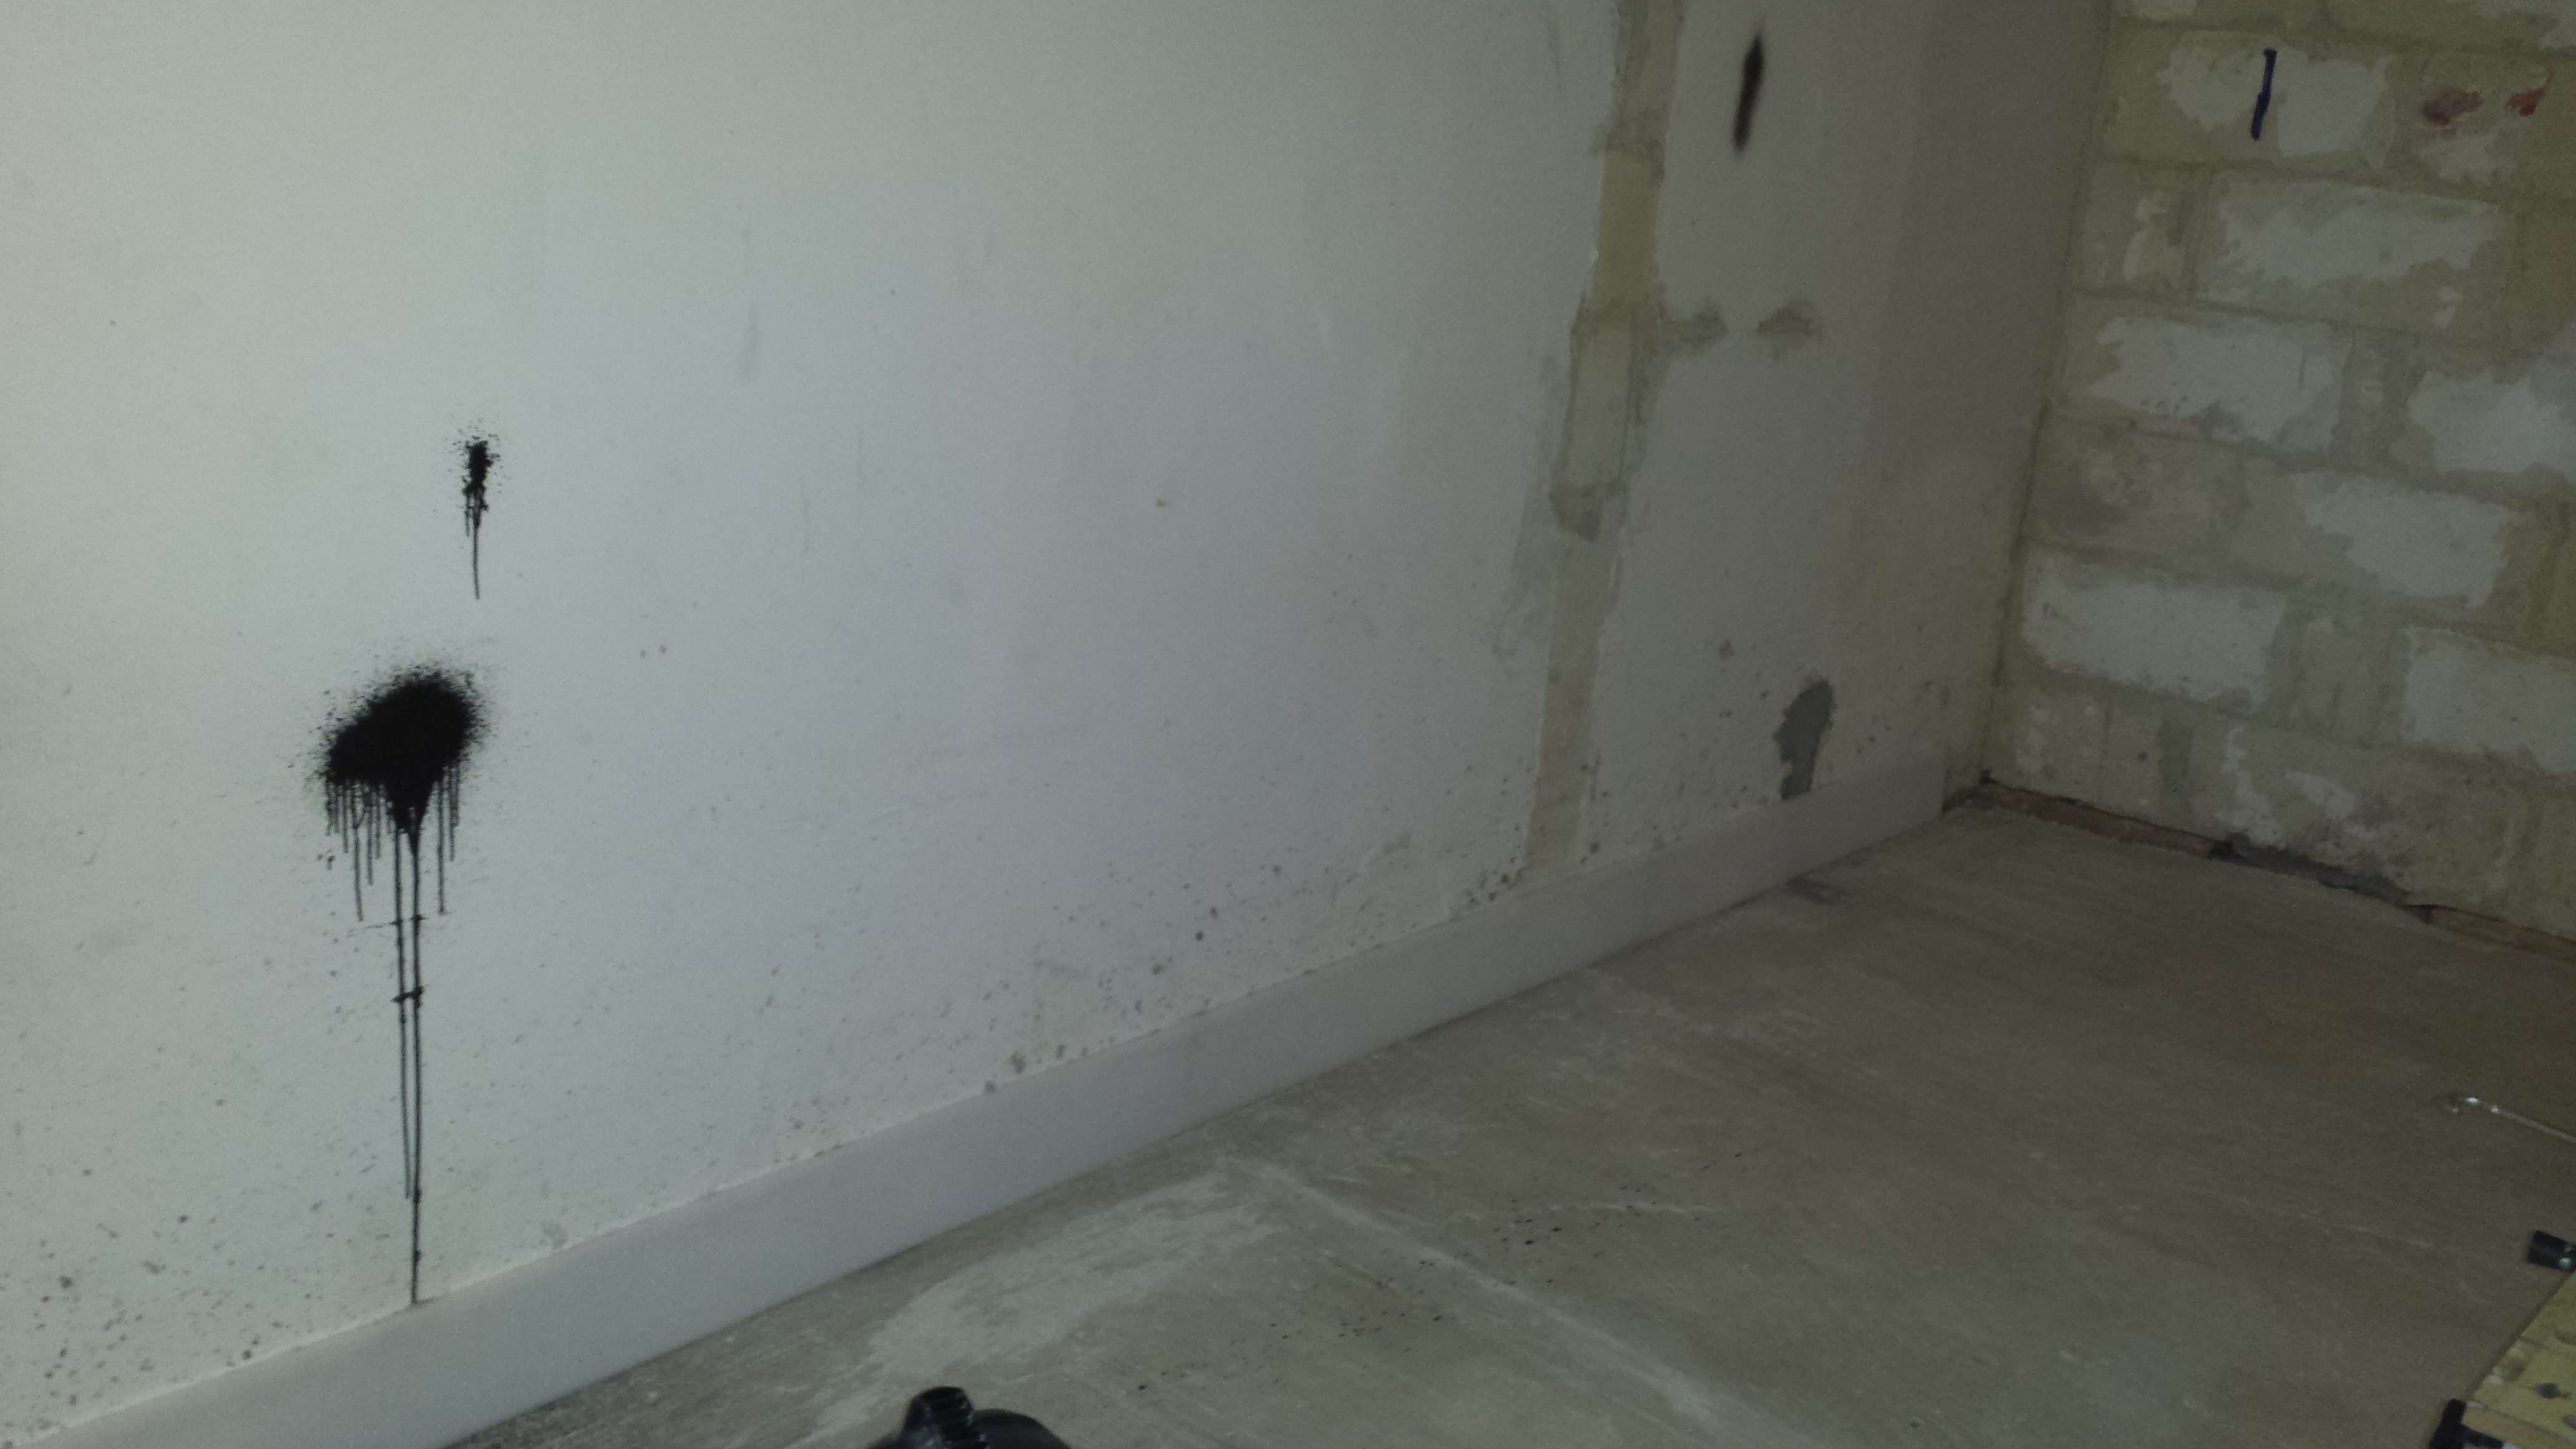
After that I have coated the concrete with Sikaflex to stop the fine dust from coming out of the concrete. According to Chris, one of the tricks is to keep the place tidy as much as possible even during the works! So you can imagine in between steps, how many times I have vacuumed the place!
Sikaflex:
Another trick is, that to isolate a place you need to avoid drilling as much as possible and stick things together instead … this will also keep the place clean as much as possible 🙂
LiquidNails:
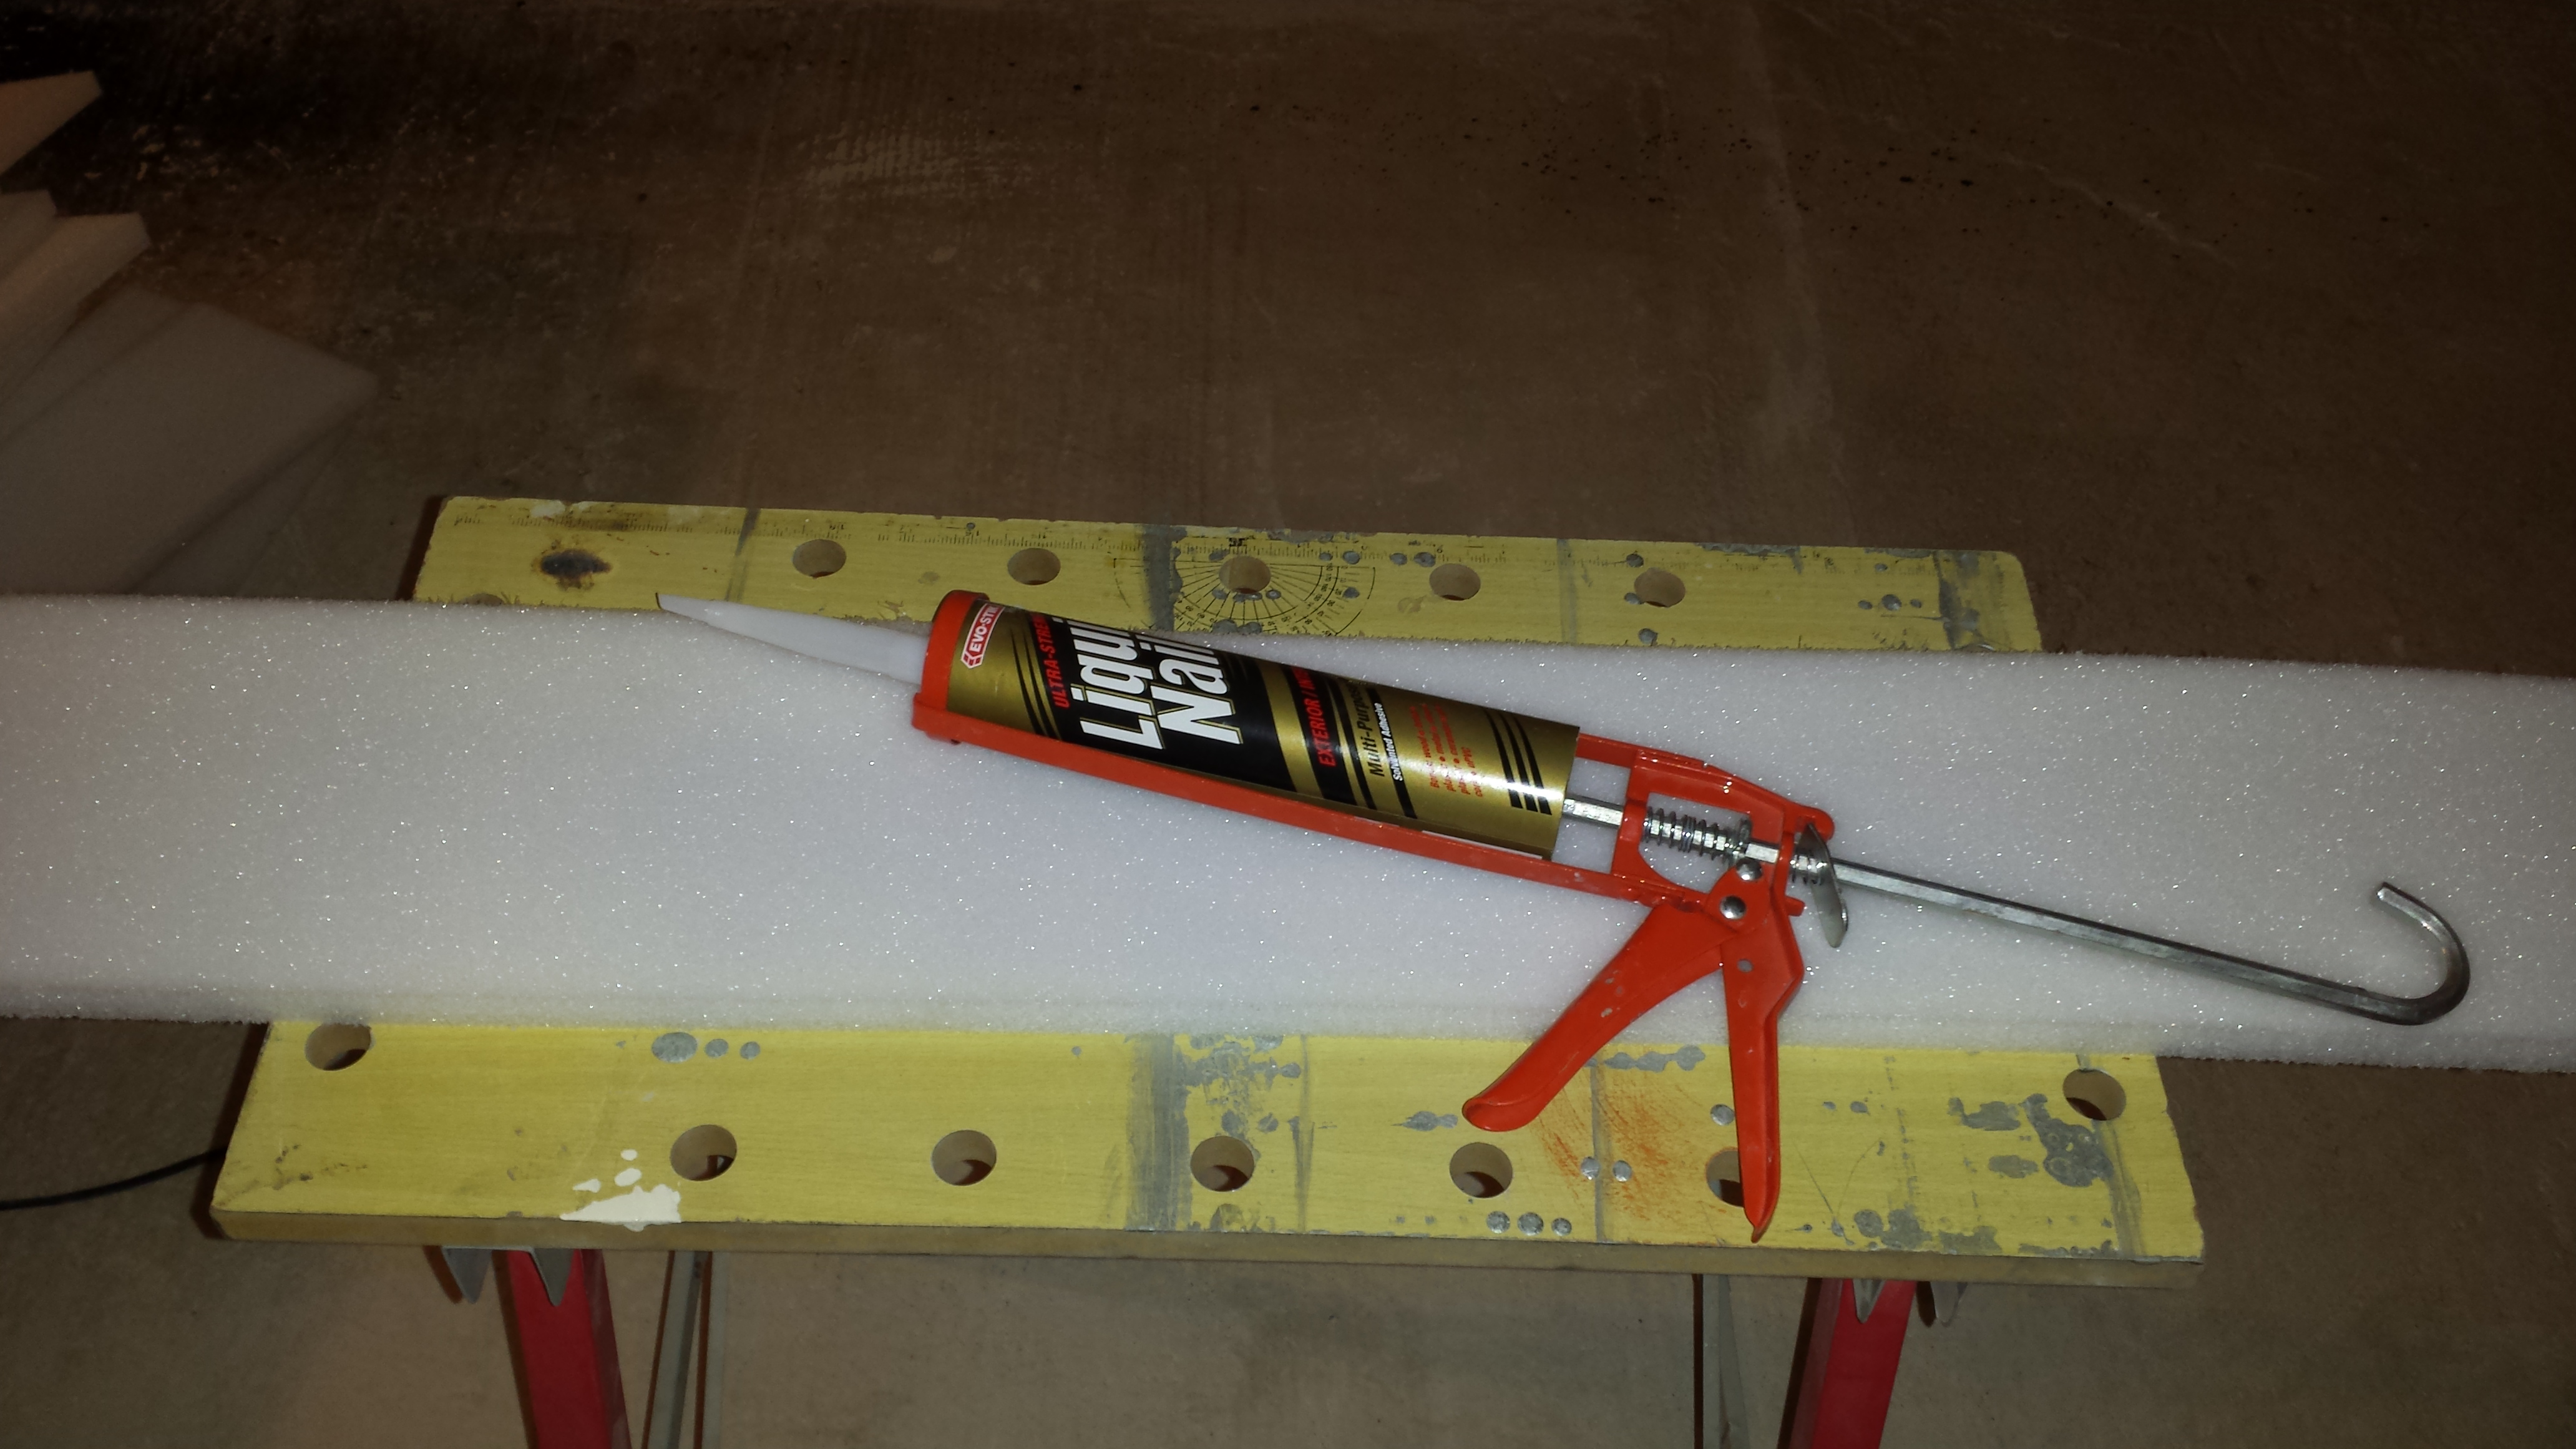
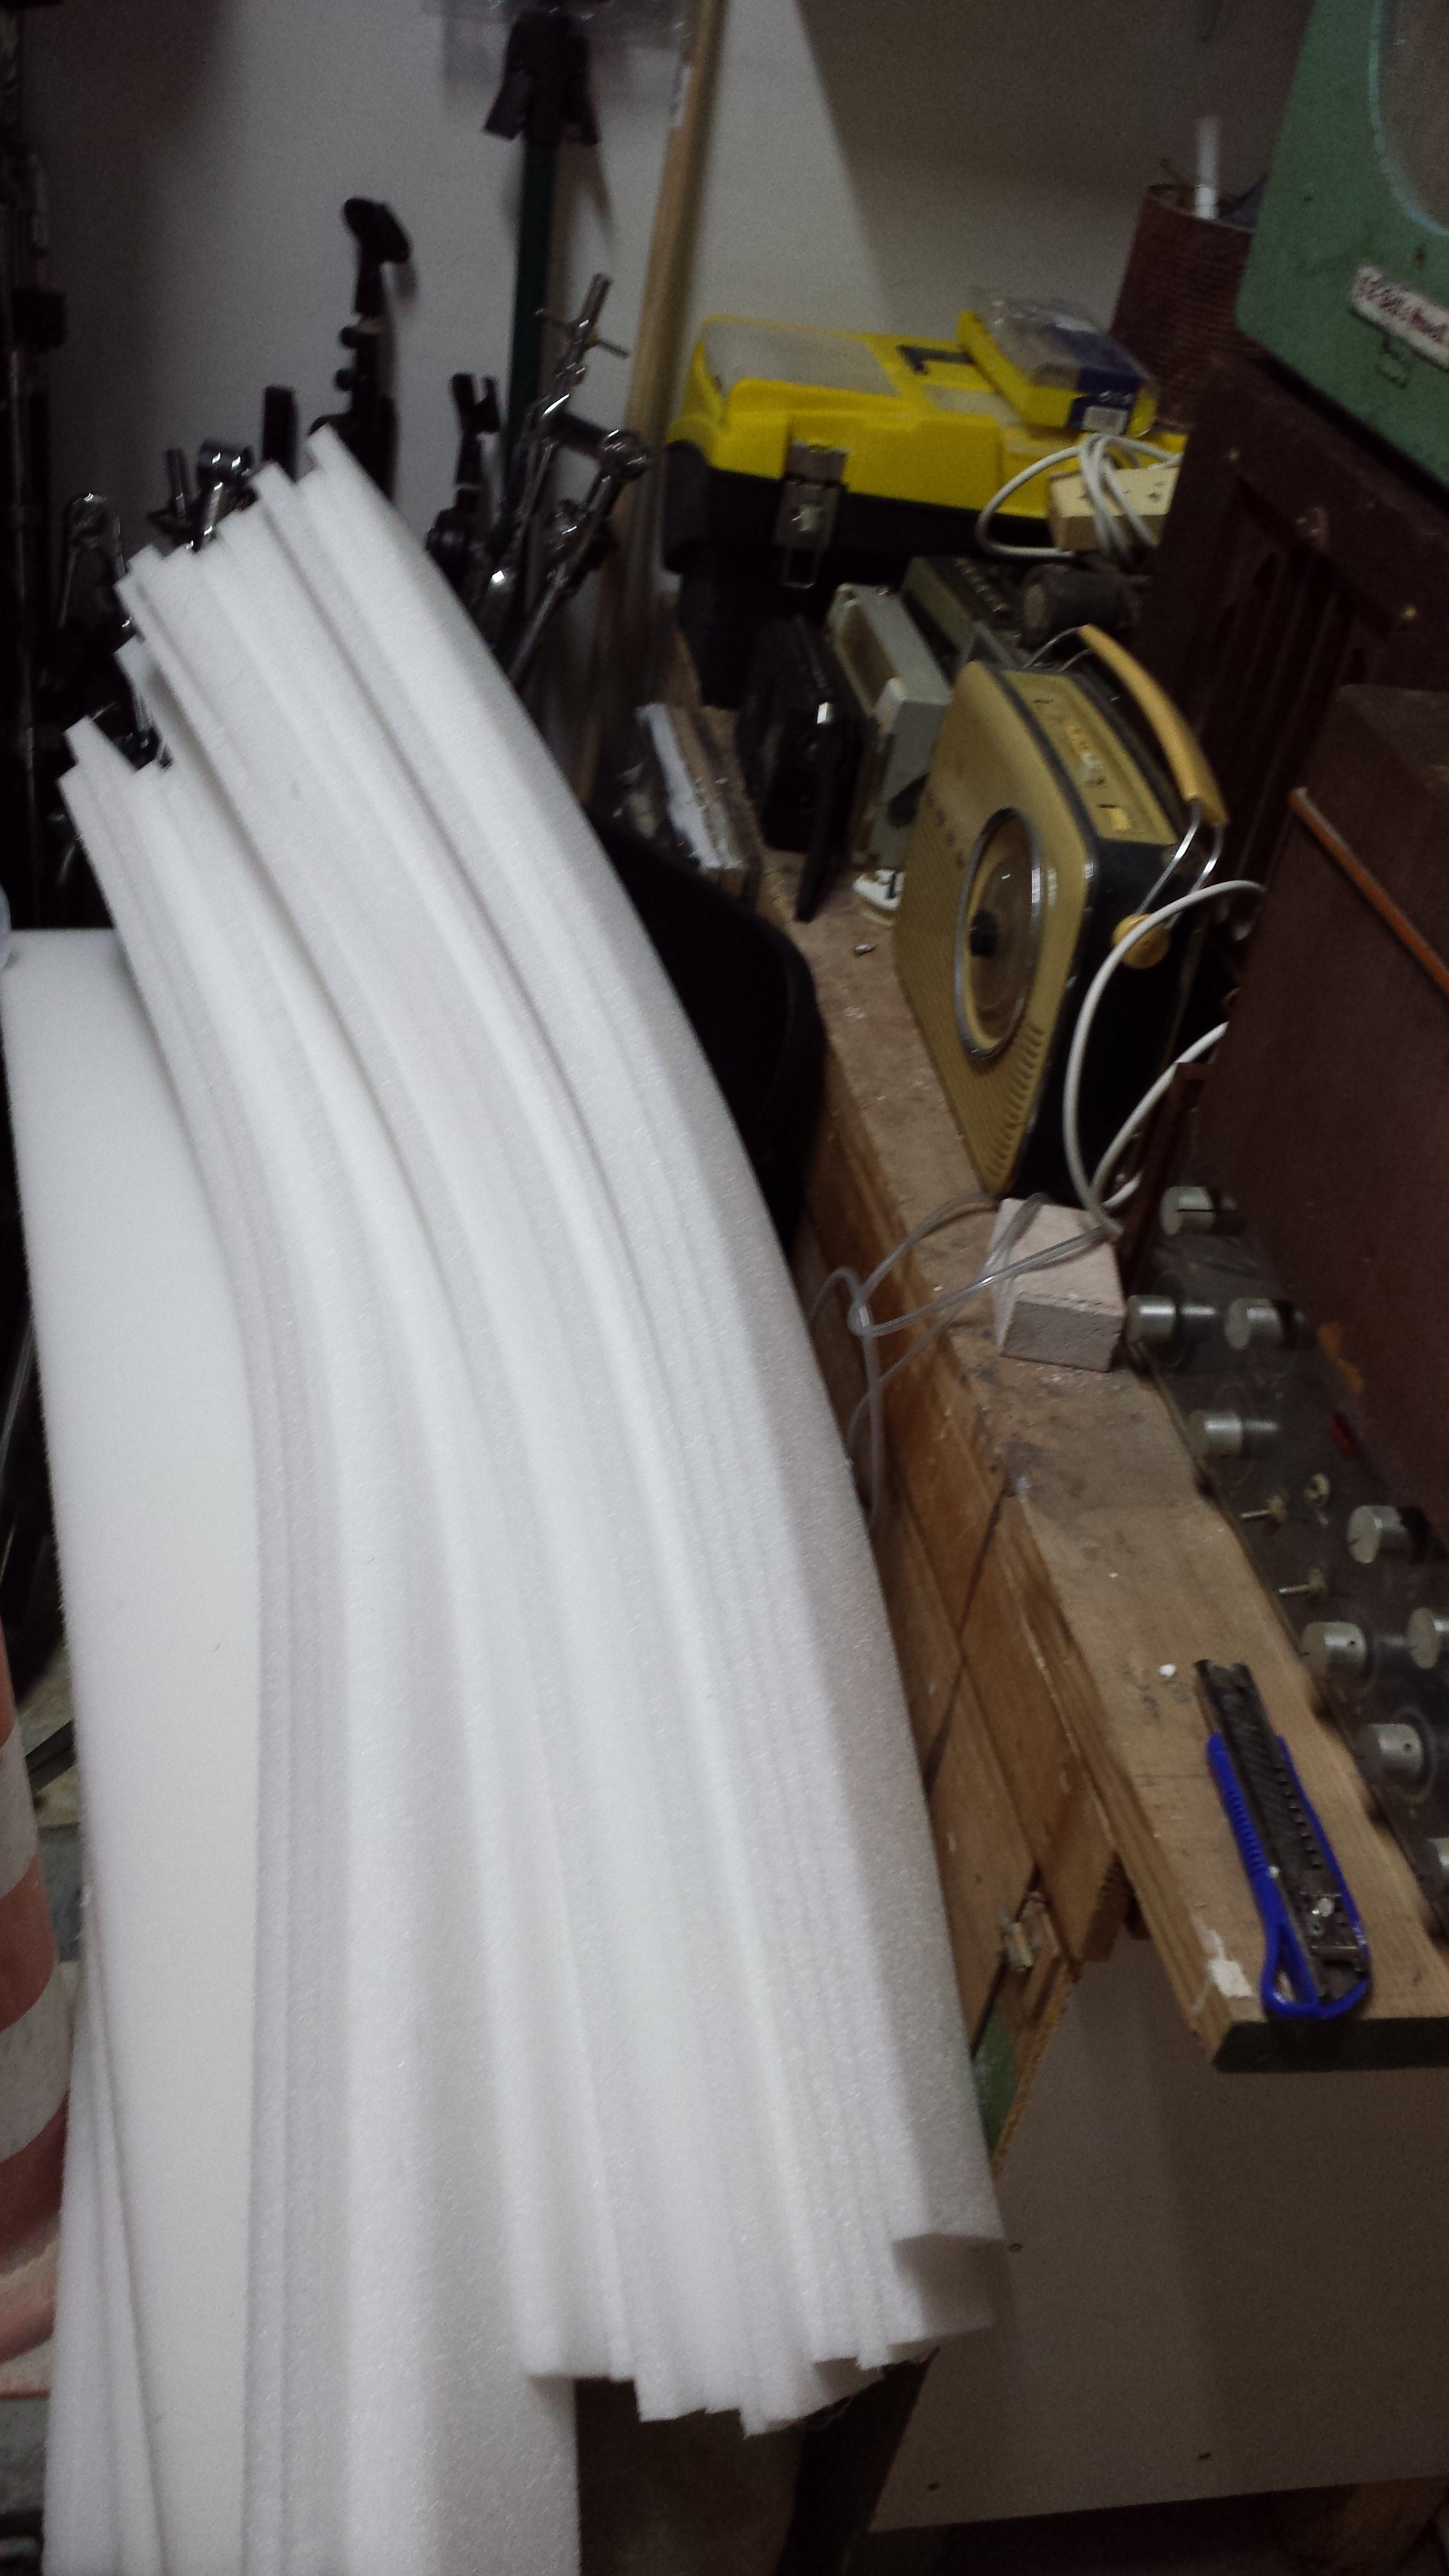
The next step is to make some nice skirting! Nahhh …. kidding we are far from there! Some of the material we ordered from US is like a 12 inch high, 1 inch depth, special foam that you fix it on the sides of the wall (just like skirting) so that the next layer of concrete (yes… another layer of concrete!) will be touching this foam and not the existing original wall. The main idea here is to make a “floating room” so we need to separate existing walls from the new floor and walls.
Concrete Isolator:
Next step is to divide the room in 15 equal parts … . This could only be possible thanks to the great invention… the chalk line! These lines will be guides to where some of the mountings/blocks need to be attached to.
Chalk Line:
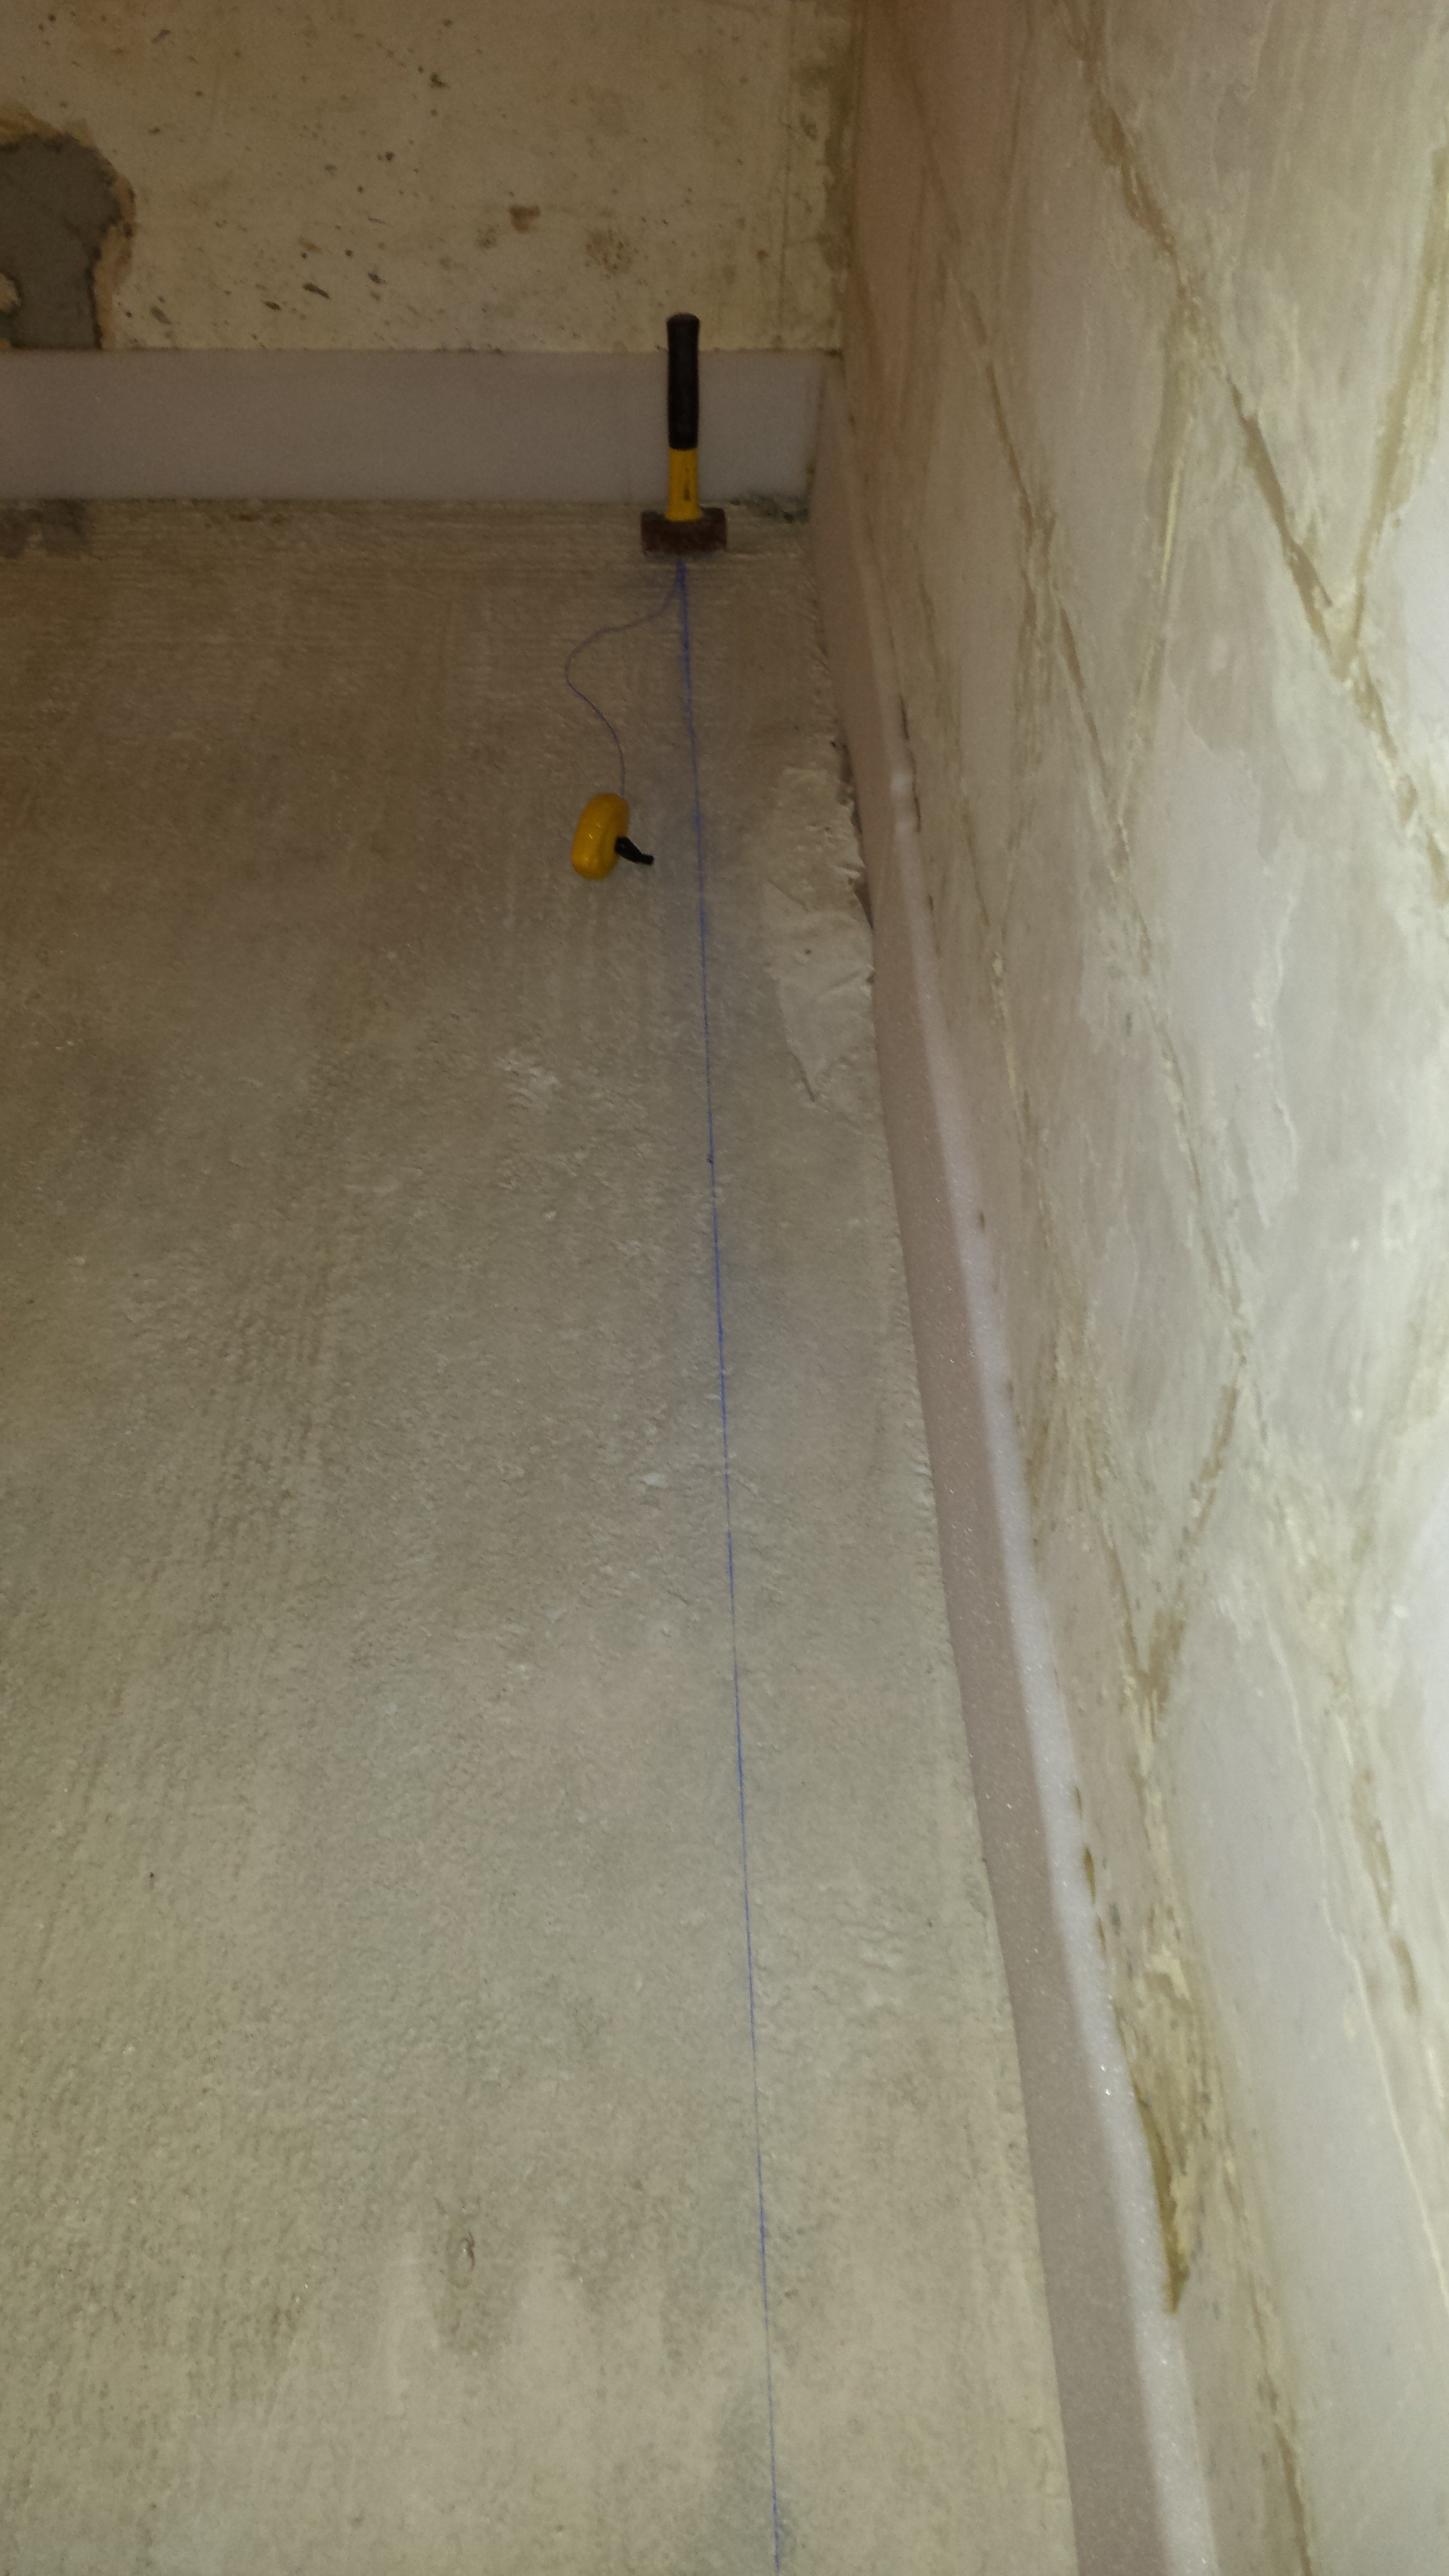
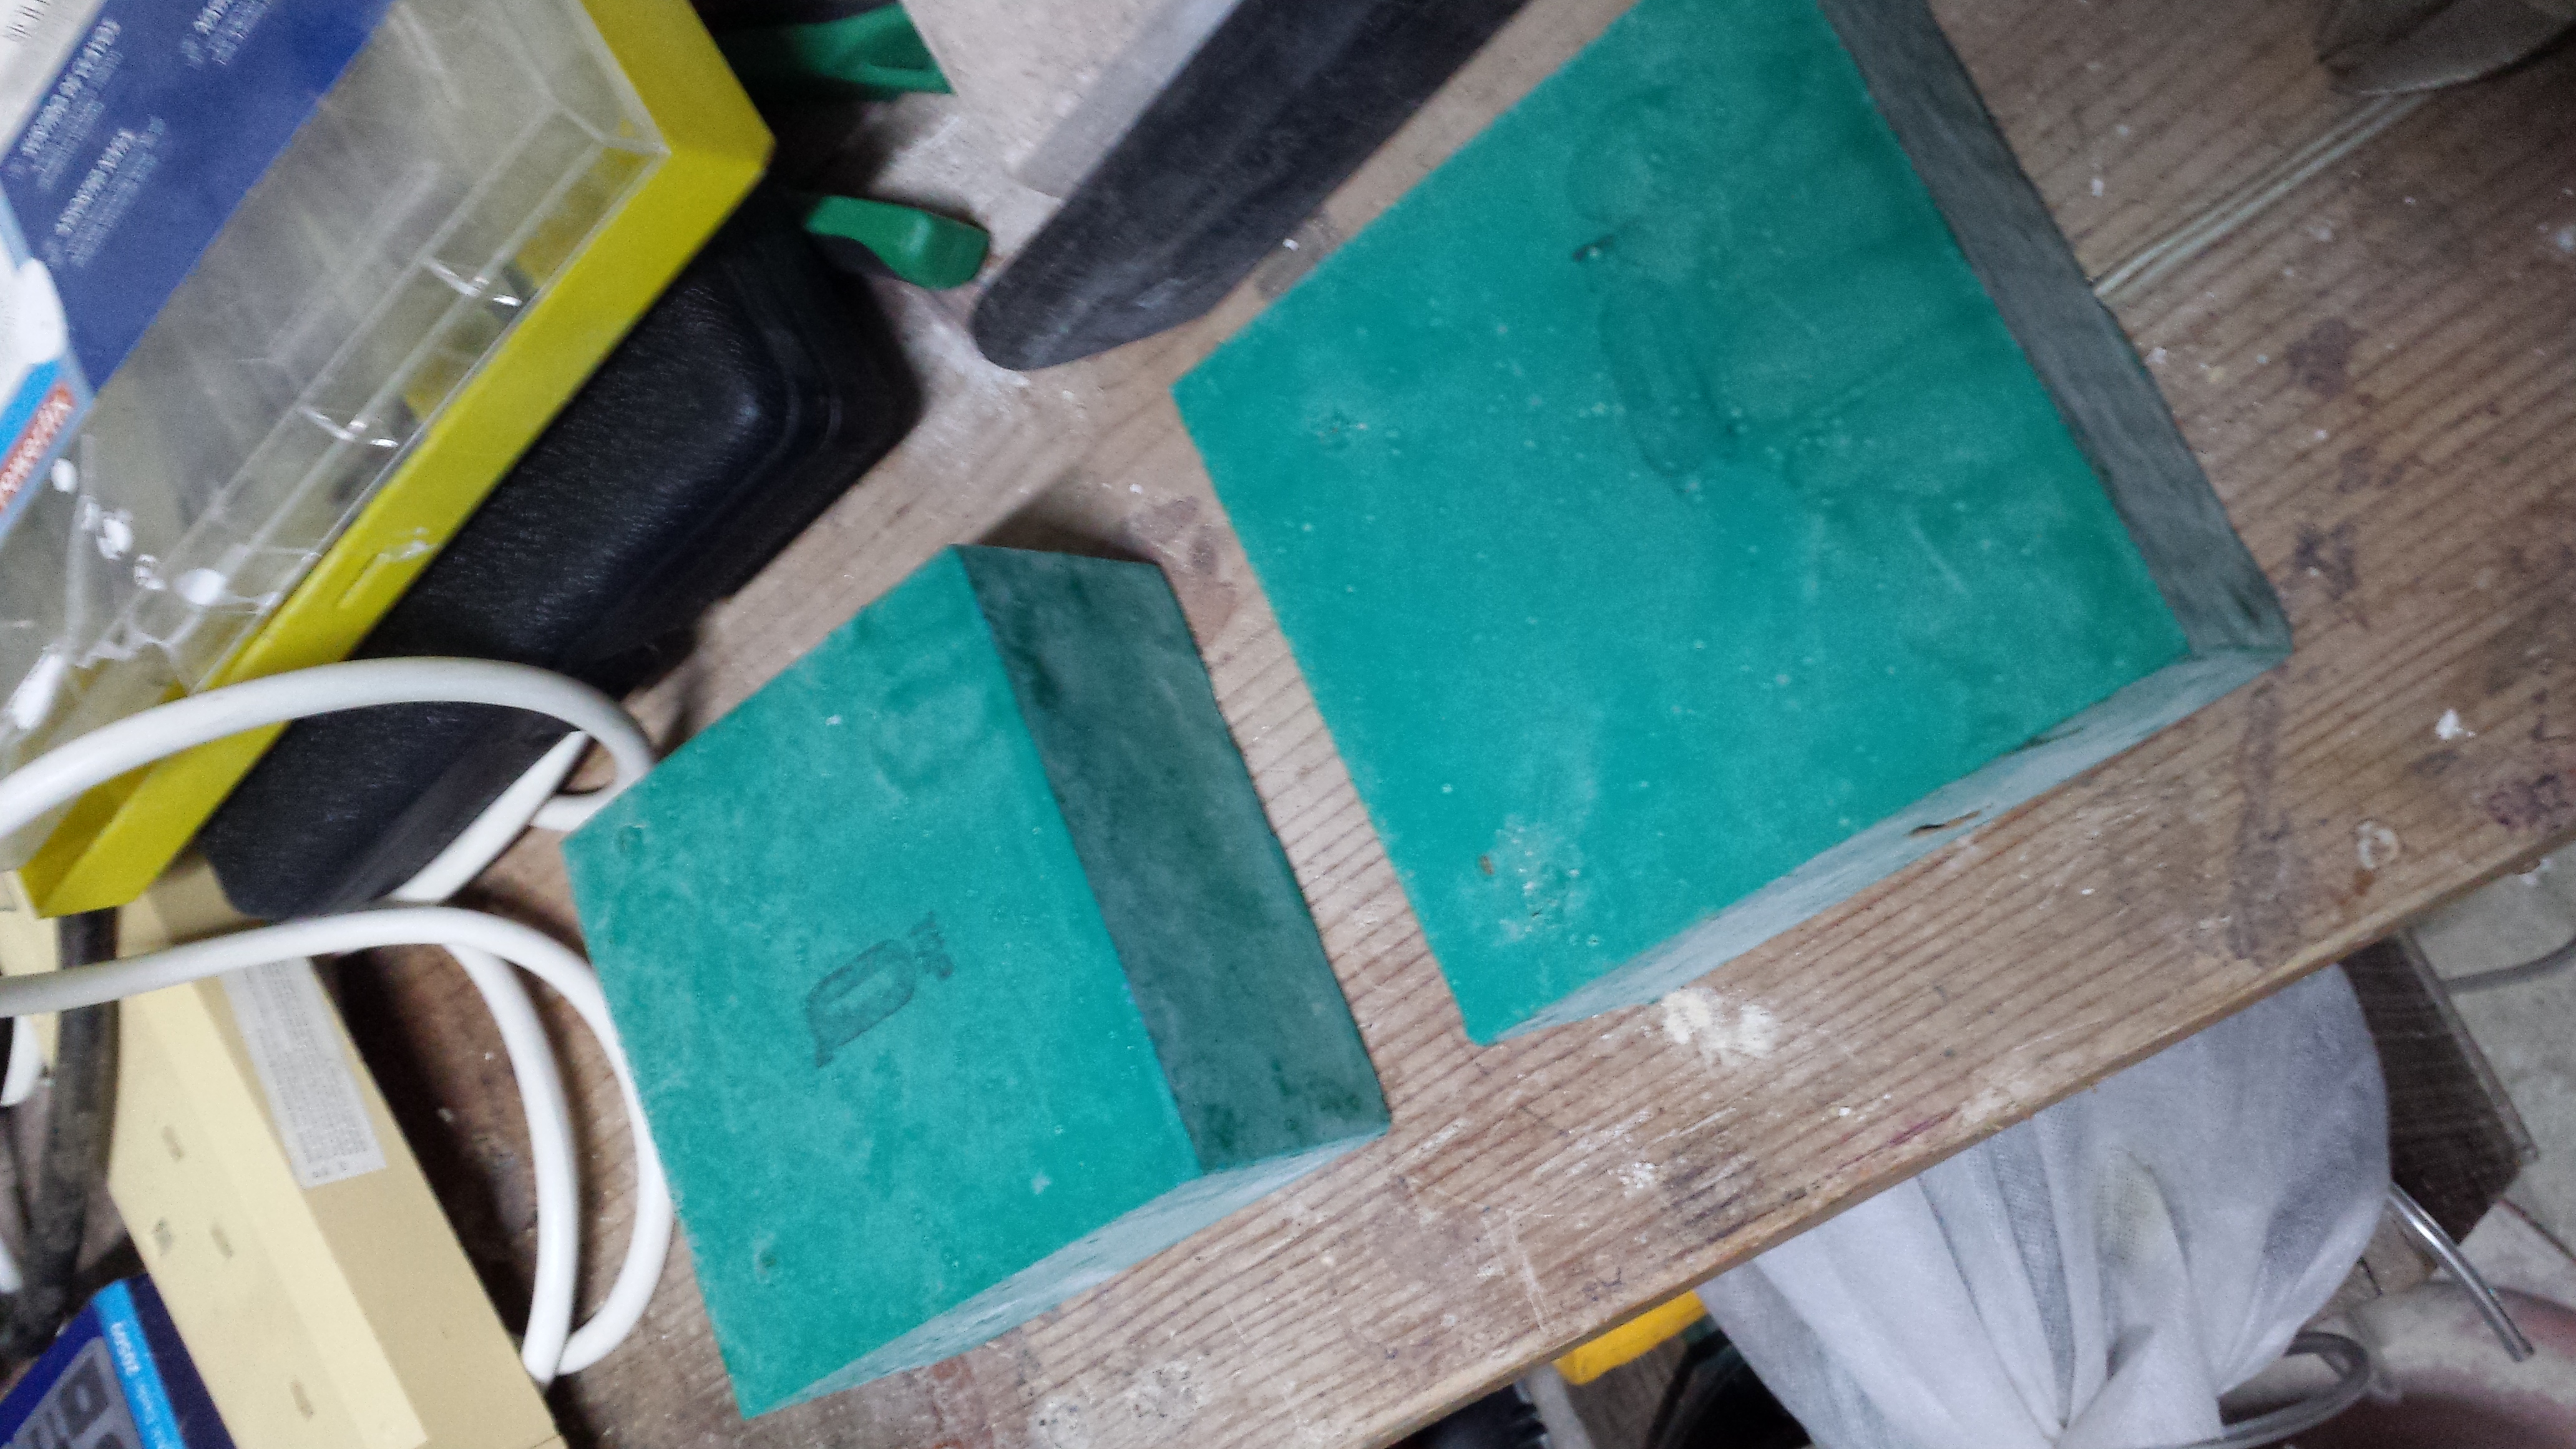
So everywhere I marked the “X” with the chalk line, I need to stick a green pad with Liquid Nails. These green pads will go down evenly with the weight of the next layer of concrete, but before that… we must fill the rest of the floor (around the green pads) with 2 inch high rock wool.
Green Pads:
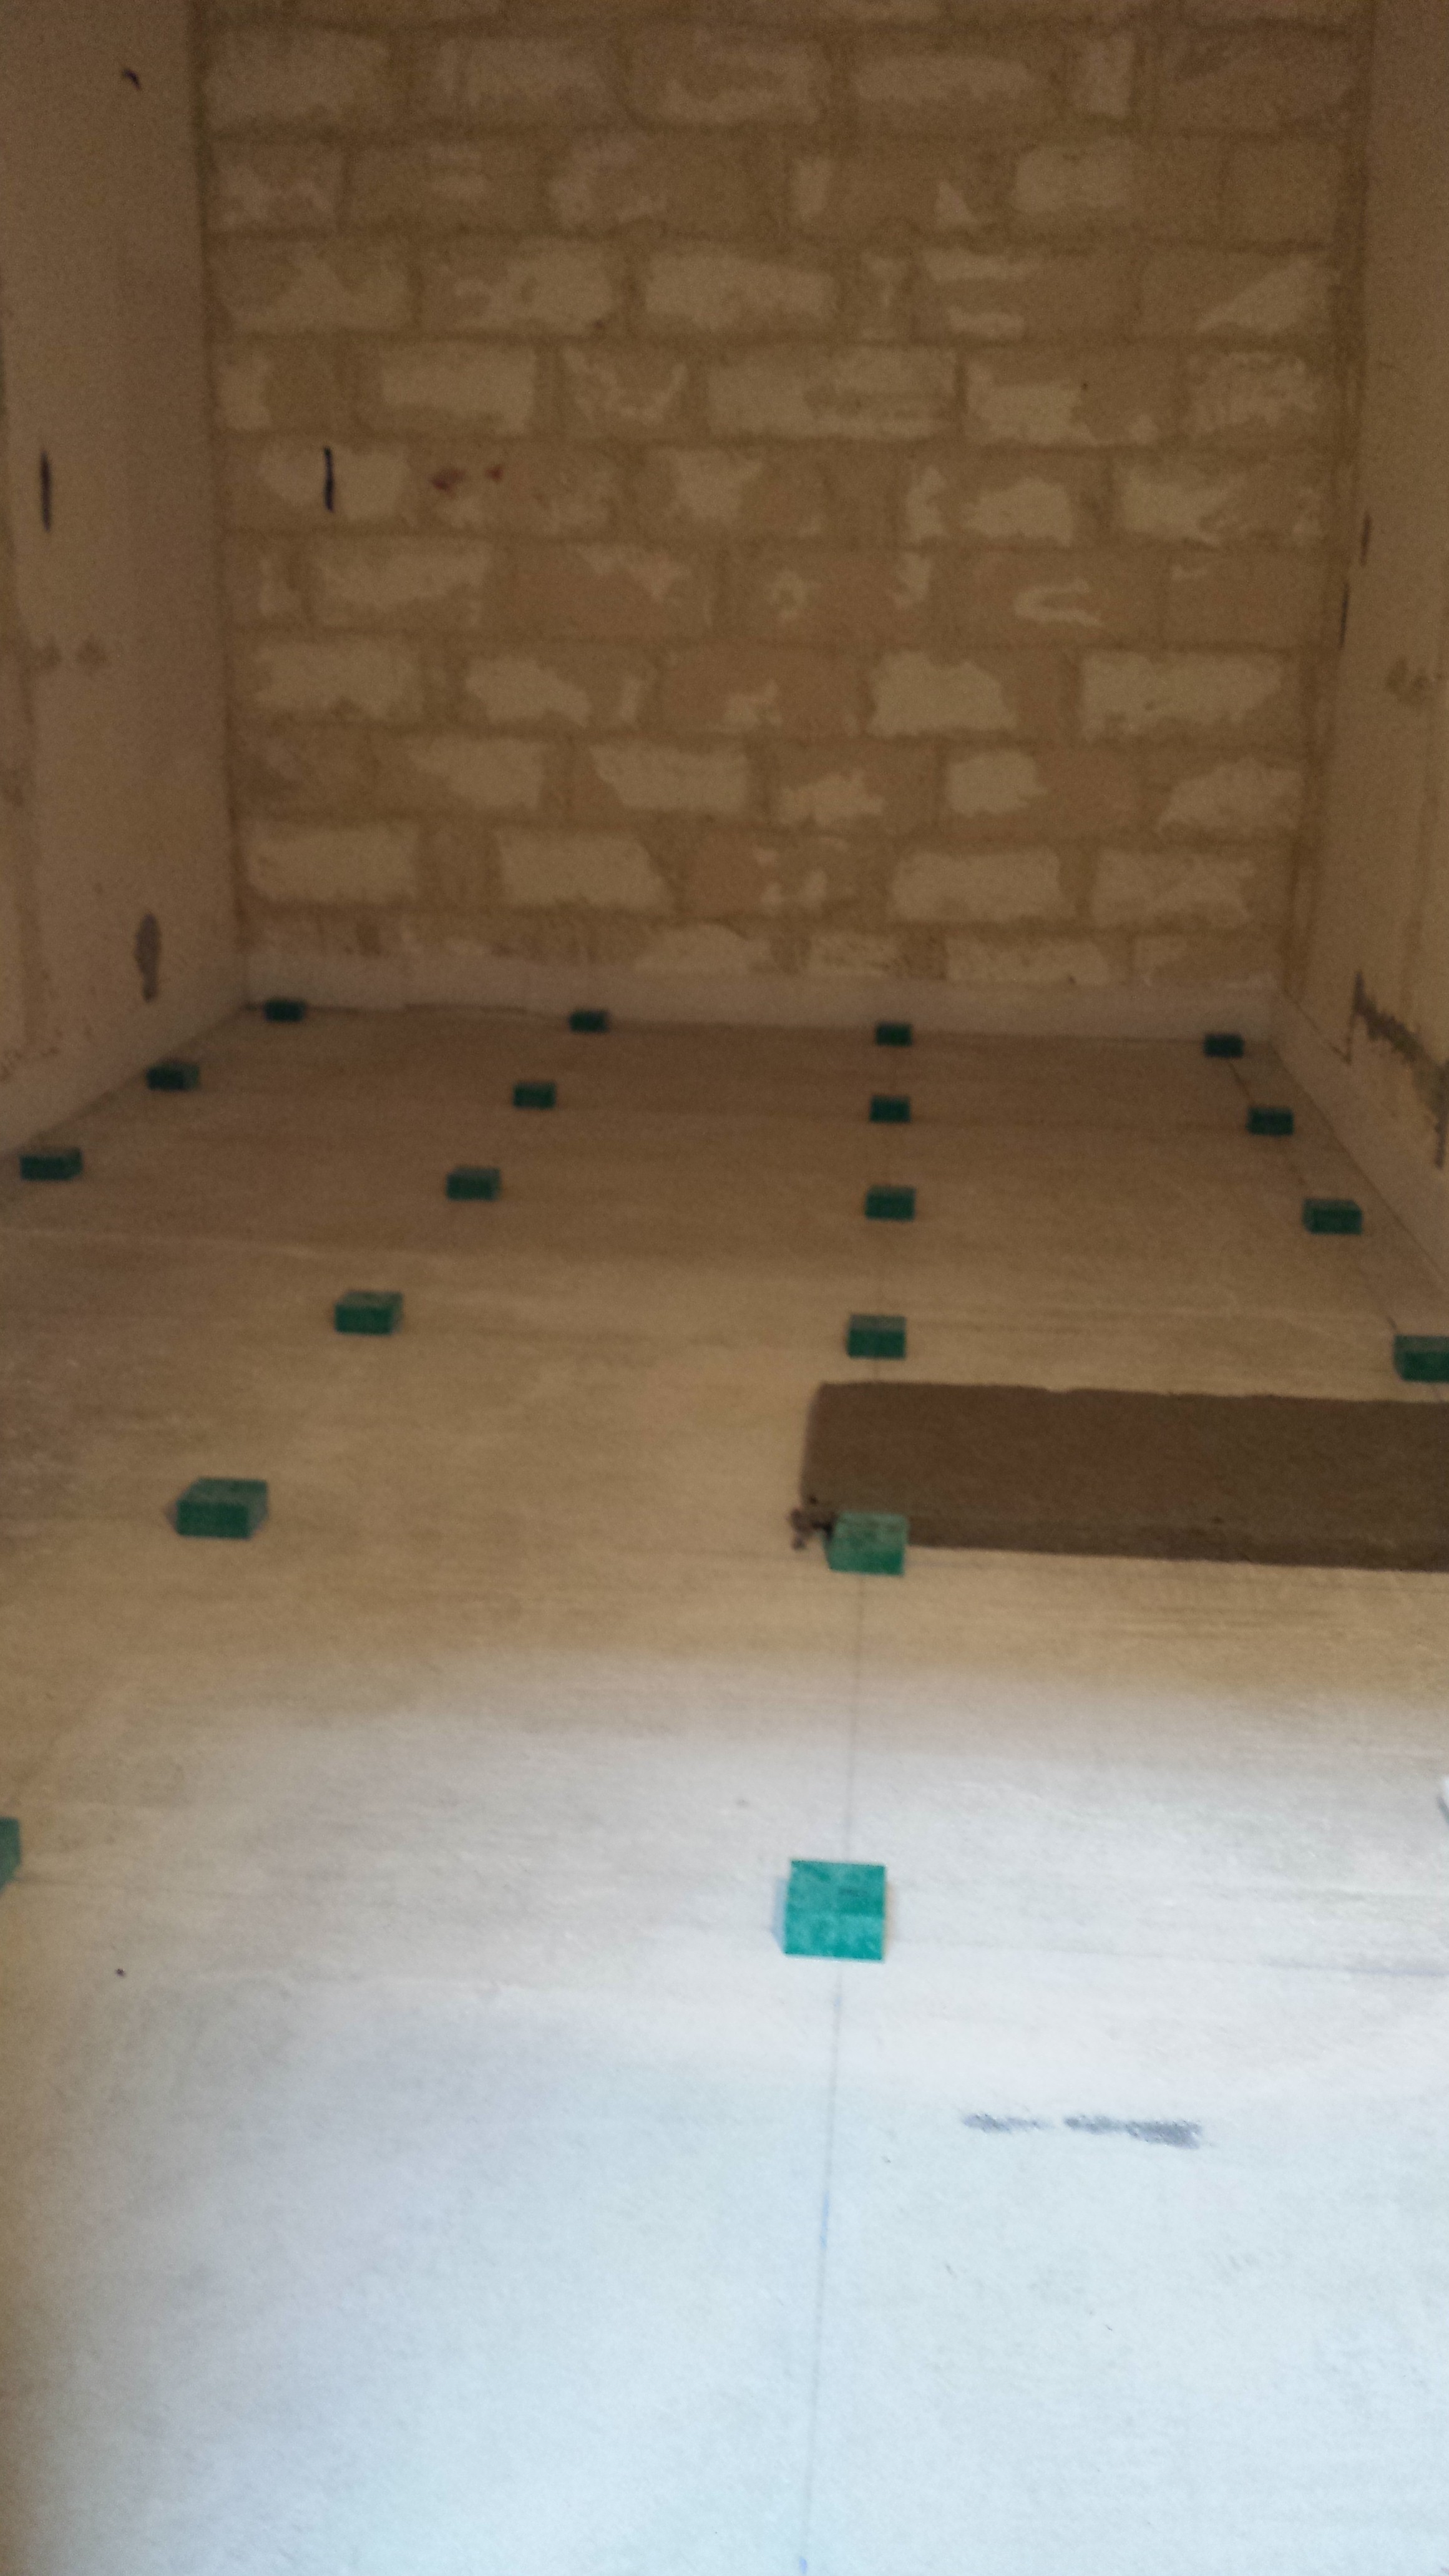
Once this is all done, we need to cover it all up with one single plastic sheet and after that we are going to cover the whole floor with 12mm plywood with no gaps as much as possible! On top of all this, we will yet put another 2 inch of concrete with some special material in it..
I will be posting more pics and posts in coming weeks!
To be continued…
Read more


